Sprite Sheets are a method of creating graphics and animation, used considerably in game development, in particular retro gaming. I am going to go through the process of making sprite sheets which will hopefully be easy enough to follow. It does assume some knowledge of computers and Photoshop, and the ability to conceive of and execute a graphic art work.
I will be doing this using Photoshop, a ludicrously expensive photo manipulation program. If you’re lucky enough to have a subscription or you have an old version of the app doesn’t matter, but I will point out that none of the features I use in this tutorial have been developed in the last 20 years. It was all there when I first used Photoshop back in 1998. I also use a Wacom for drawing.
First create a new canvas in Photoshop the size of the object you want to draw, RGB colour with a transparent background. In this case I will be doing a walk cycle of a human character. Be sure to make the canvas large enough to incorperate every frame in the animation. It’s better to overestimate and then crop the canvas, than it is to have too little room for the drawing. In most sprite based games the graphics are scaled 200%. This increases each pixel to four pixels, so check your drawing at eactly 200% zoom for an accurate preview if this is your need.
What you draw and how you draw is entirely up to you. This is something that requires talent and usually years of drawing, building games and experience with Photoshop or other graphics programs. There are endless ways to draw a sprite. You can export 3D graphics and rasterise. You can rasterise vector graphics or photographs. You can even draw in a different drawing app entirely and copy and paste into Photoshop.
I can offer some bits of advice that I have found useful. I generally use small sprites consisting of 16 to 48 pixels as a base size. This is because in old video games(8 – 16bit) everything plays at 320×240 pixels and then scaled to screen size. This gives older games a pixelated quality which some desire but is no longer necessary. If retro is what you are going for you will probably draw using two main tools: the pencil tool and the pencil eraser. This way you can draw pixel by pixel and avoid aliasing.
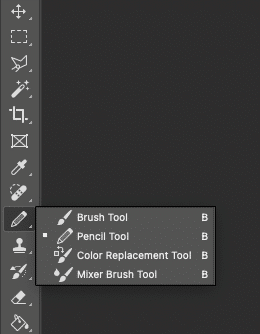
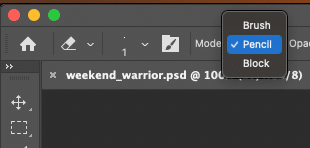
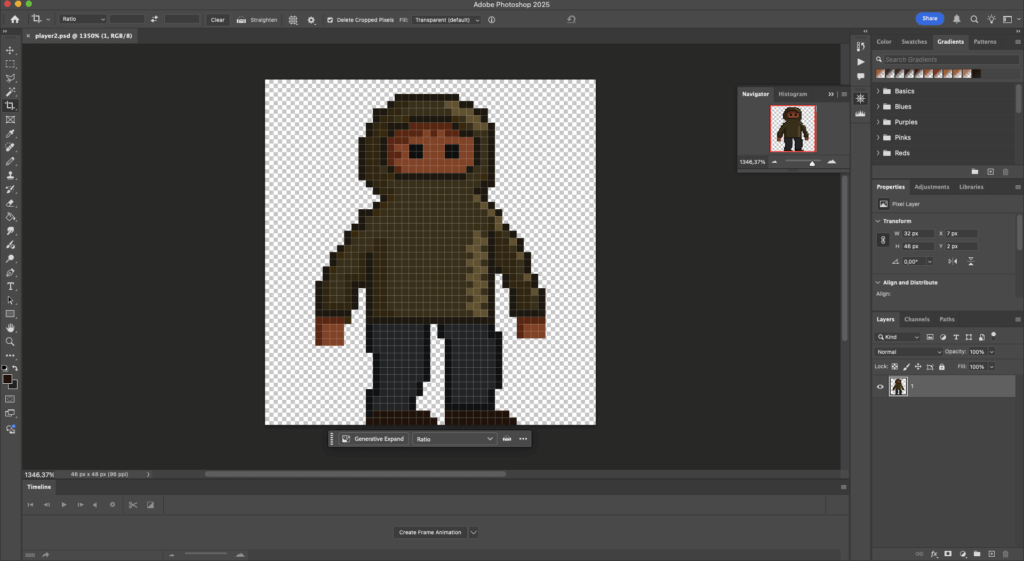
Once you have drawn your first frame, in this case a standing pose, you can start doing the frame animation. Draw each frame on a different layer. For reasons I will show you later, order your layers from first frame at the top to last frame at the bottom. When finished you should have a canvas with each frame of your animation on a separate layer. Use the hide and show button on the layer to display each frame on it’s own.
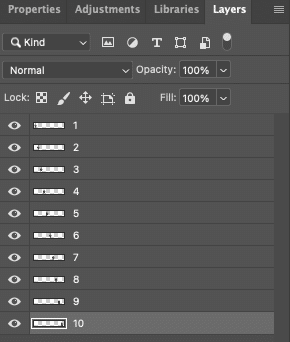
Use the ‘New Layer’ and ‘Duplicate layer’ tools effectively.
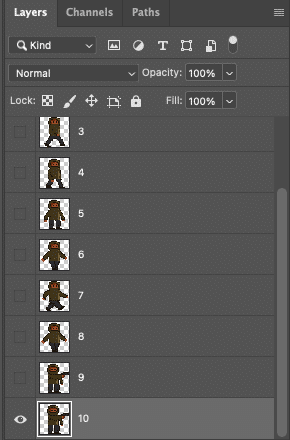
You can test the animation using Photoshop’s frame animation functions. Open up the timeline (Window->Timeline) and click on the ‘Create frame animation’ button. To animate hide every layer but the first. Add a new frame and hide the first layer and show the second. Continue this so for each frame in your animation only one layer is shown. When you do this in sequence you will have your animation. Each frame has a length in milliseconds, by increasing the time you will make the animation slower or pause on a certain layer. Be aware that the speed the animation plays in Photoshop is very different to the speed of the animation when exported as a .gif. You can test this with File->Export->Save for Web (Legacy), then previewing the animation as a .gif.
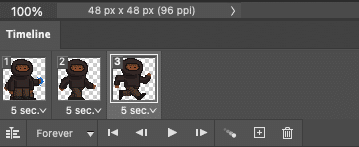
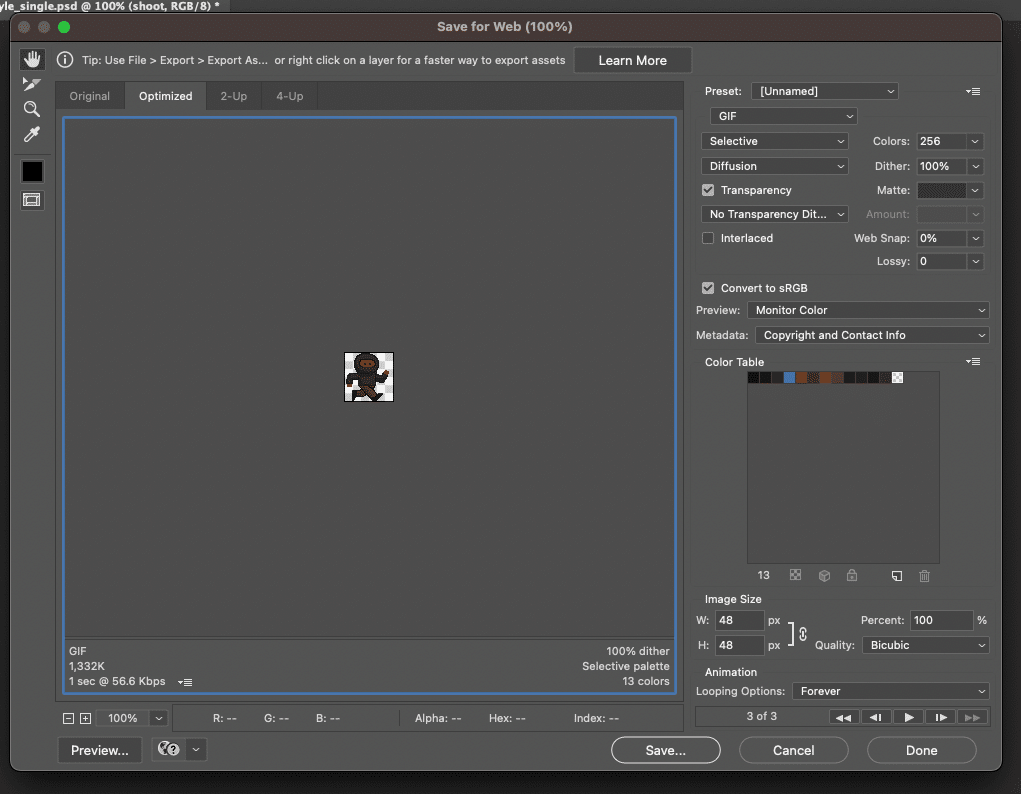
It is possible to add automation in Photoshop, and the next step uses this automation with a JavaScript file. You can also program automation with Python. The script I use will scale the canvas to the total width of the frames and move each frame to a position on the canvas. Without this automation this step would be tedious and long.
Select File->Scripts->Browse and find the JS file on your computer. This file contains the following code.
if (documents.length > 0) {
	docRef = activeDocument;
	var activeLayer = docRef.activeLayer;
	numLayers = docRef.artLayers.length;
	var cols = docRef.width;
	var spriteX = docRef.width;
	app.preferences.rulerUnits = Units.PIXELS;
	newX = numLayers * spriteX;
	docRef.resizeCanvas(newX, docRef.height, AnchorPosition.TOPLEFT);

	for (i = 0; i < numLayers; i++) {
		docRef.artLayers[i].visible = 1;
		var movX = spriteX * i;
		docRef.artLayers[i].translate(movX, 0);
	}
}
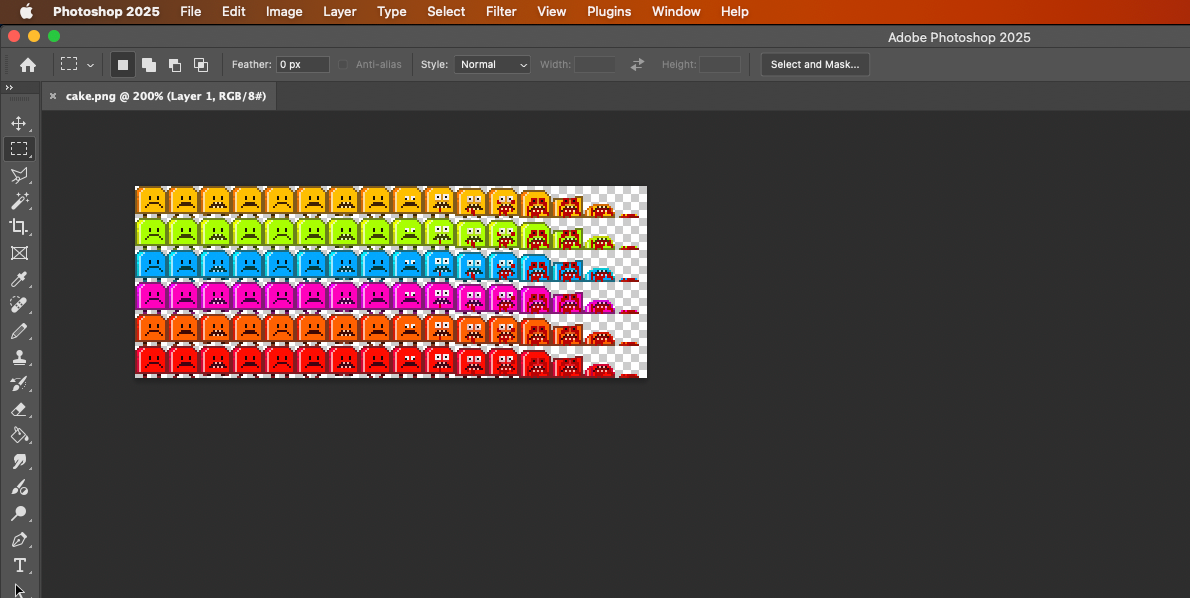
When the script is executed you should have something like this:
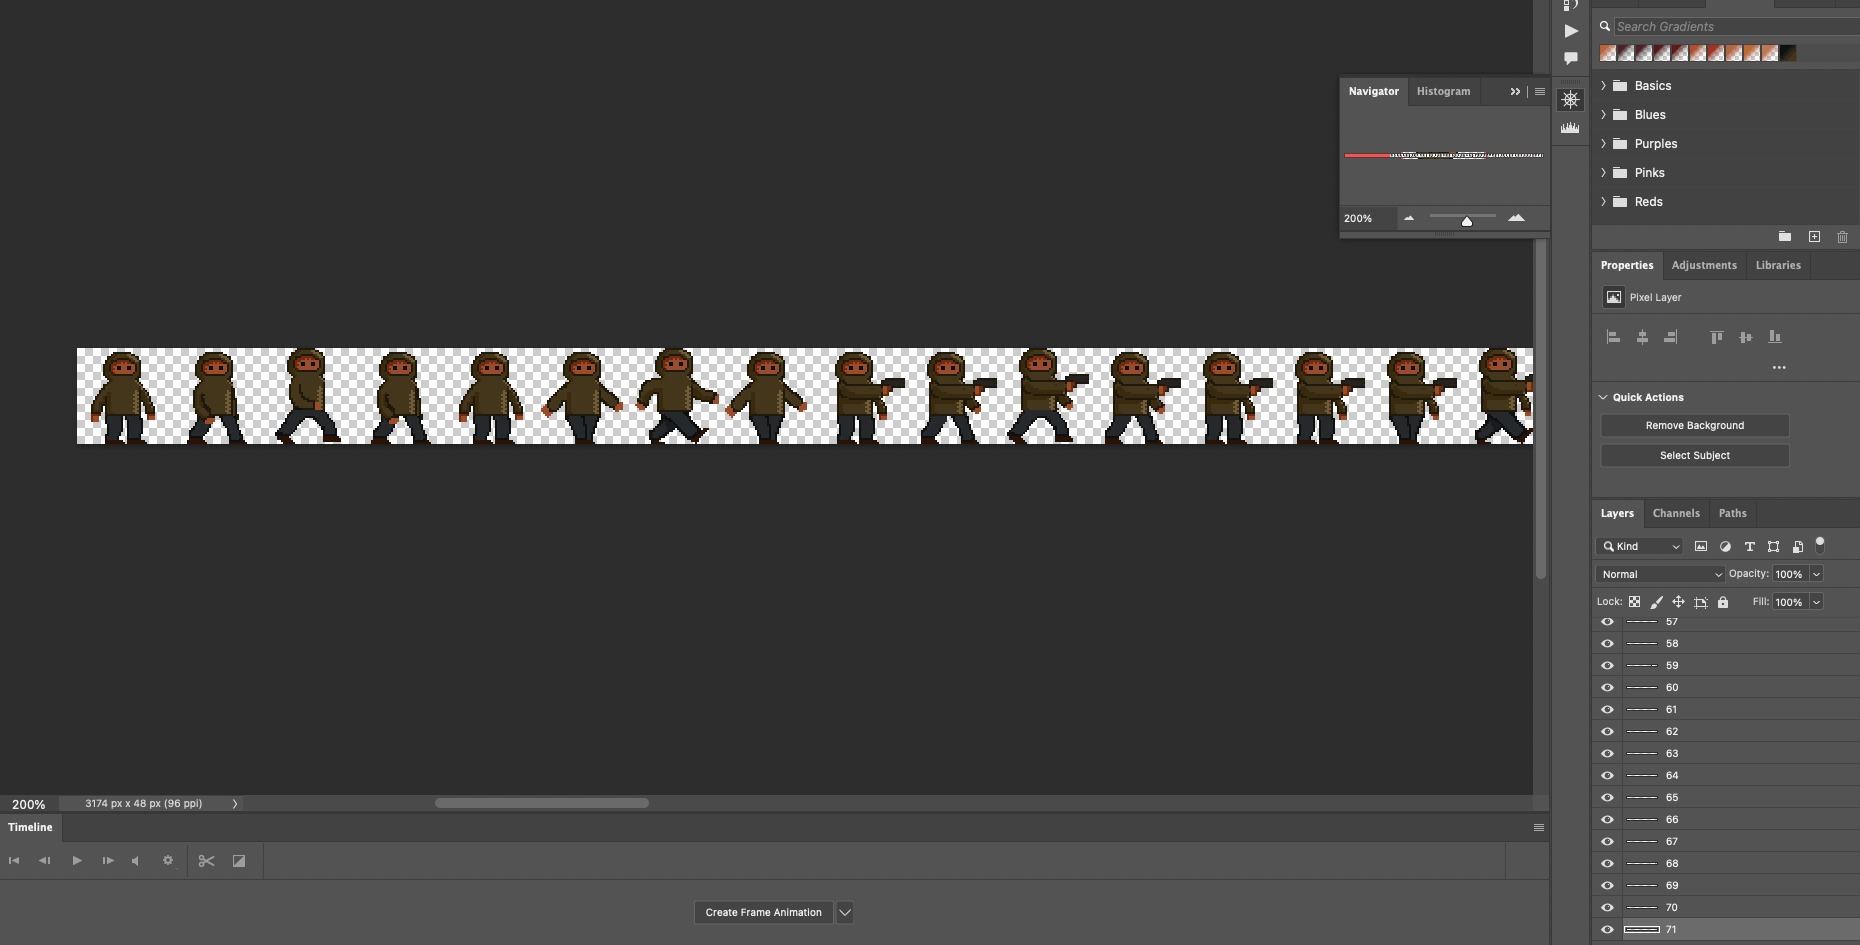
Now you can export the sprite sheet, I use .png but it’s up to you what format you need.
The next part will be how you utilise the sprite sheet in whatever application you are using. This could be 2D gaming, web animation or some other purpose I’m unaware of. The speed, which sequence play at any time, are completely reliant on this and outside the bounds of this particular post.
Happy drawing.

Leave a Reply